

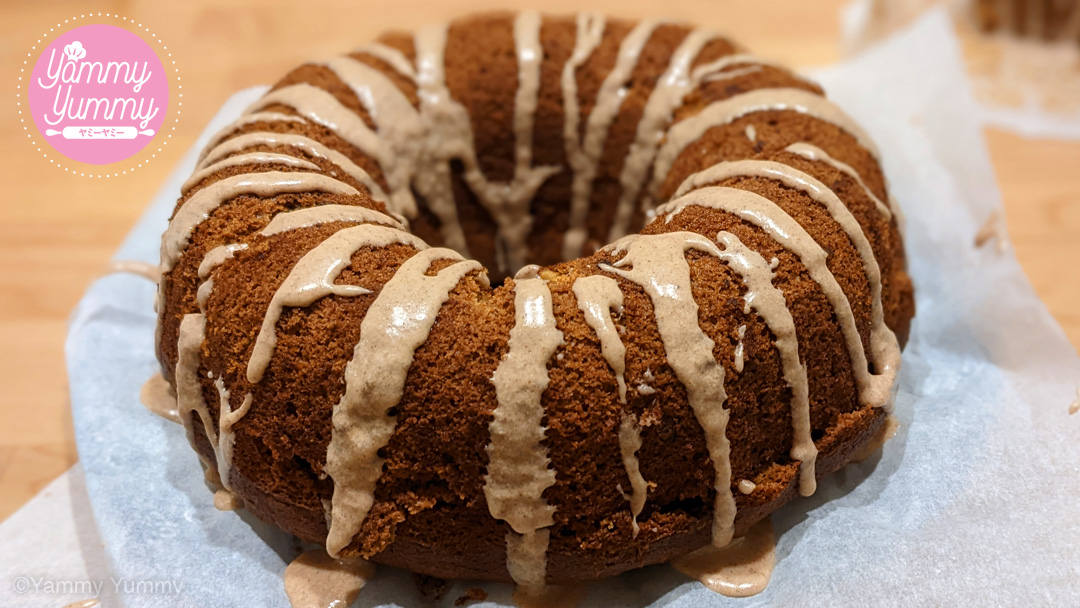
Pumpkin Nut Bread
Description
Have left over pumpkin puree you don't know what to do with? Why not go nutty and make some bread! This recipe makes a lot! About 24 good sized bread serving slices.
This post may contain affiliate links. Please read my disclosure policy.
What We'll Need
Bread Ingredients
Cinnamon Icing Ingredients
Special Baking Equipment Needed
What We'll Do
-
Step 1
For this step you'll need:
- 3 cups ( 450g) All Purpose Flour
- 2 tsp Baking Soda
- 1 1/2 tsp Baking Powder
- 1/2 tsp Salt
- 2 tsp Ground Cinnamon
- 1/2 tsp Ground Nutmeg
- 1/2 tsp Ground All Spice
- 1/2 tsp Ground Ginger
- 2 tsp Ground Cloves
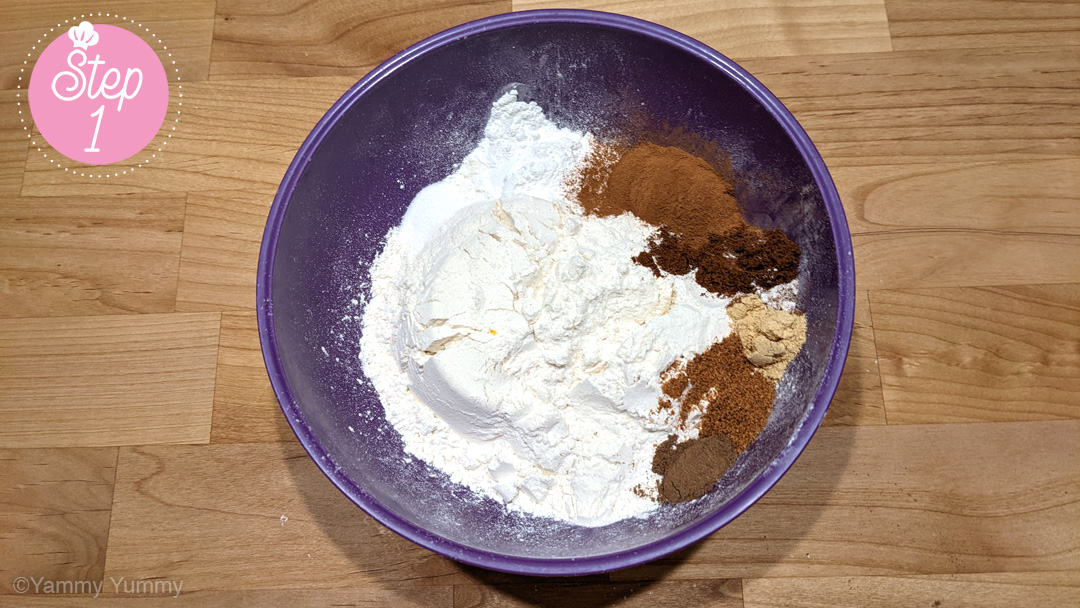
Preheat your oven to 350˚F (175˚C). In a medium bowl, add your all purpose flour, baking soda, baking powder, salt, ground cinnamon, ground nutmeg, ground all spice, ground ginger and ground cloves. Mix and set aside for now.
-
Step 2
For this step you'll need:
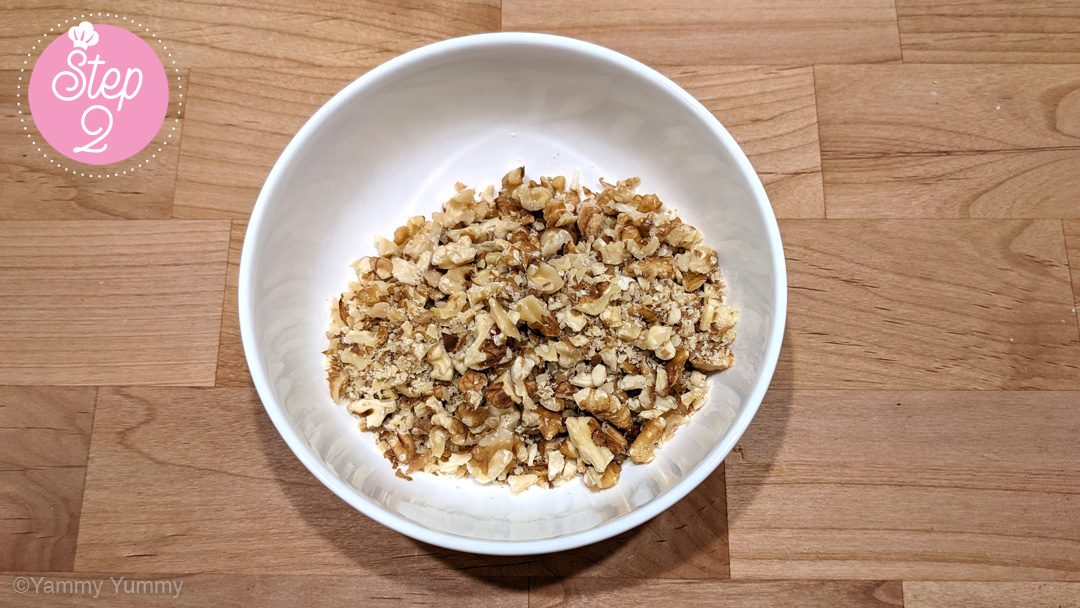
For this recipe, I used walnuts because they are my favorite but you can use whatever nut you like the best. In a small bowl, chop up your favorite nuts and set aside for now.
-
Step 3
For this step you'll need:
- 4 Eggs
- 3 cups (630g) White Sugar
- 1 cup Oil
- 1 cup Cold Water
- Mixer (optional)
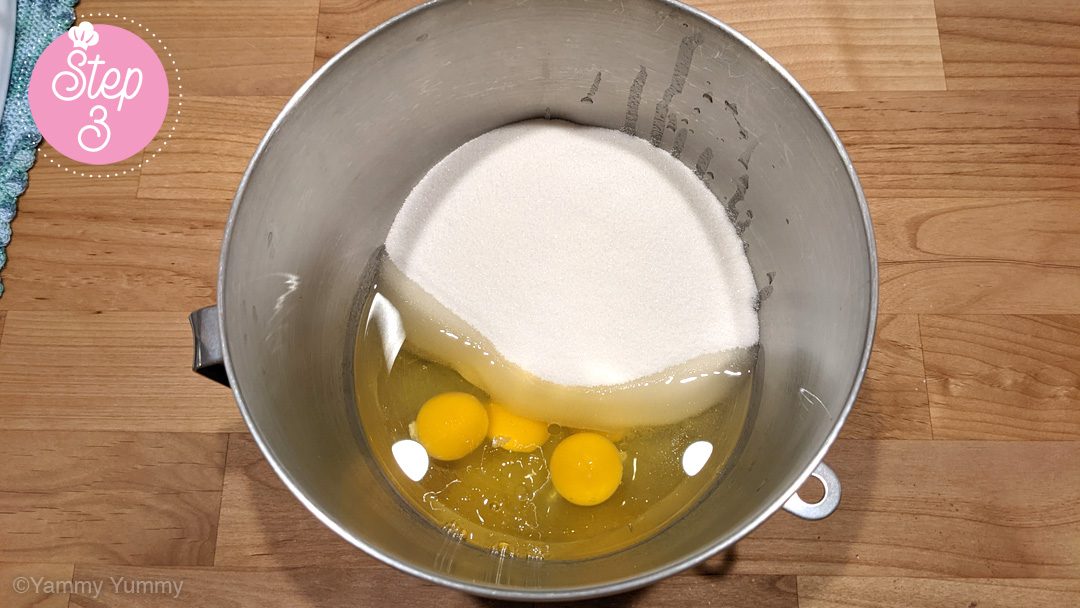
In your main mixing bowl, add your 4 eggs, white sugar, oil and cold water together and mix. Having a mixer is optional for this recipe as this pumpkin bread dough can be mixed by hand with a spatula.
-
Step 4
For this step you'll need:
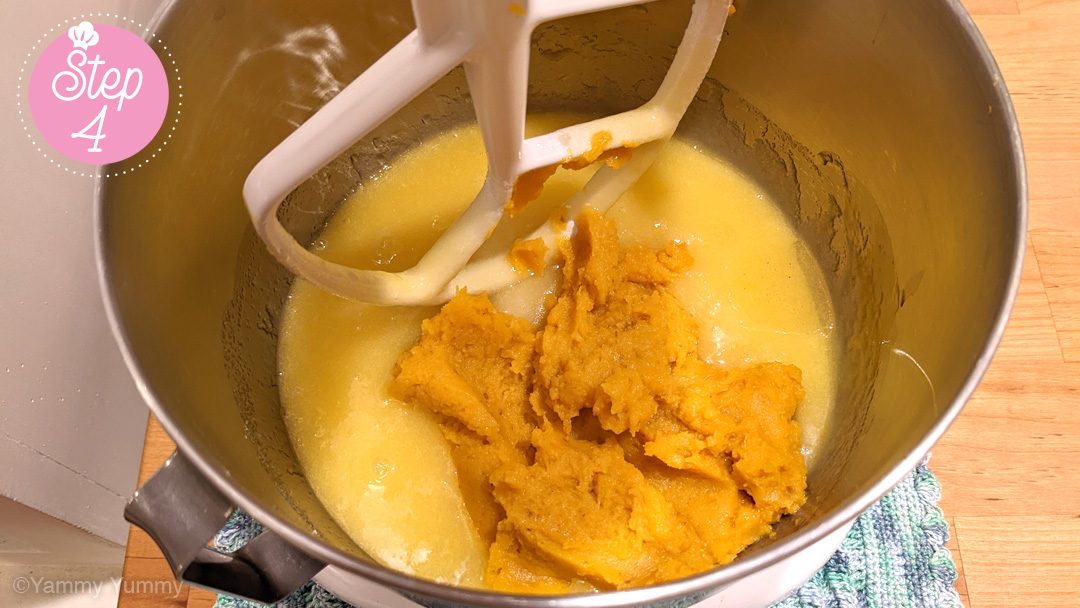
Add your pumpkin puree and continuing mixing until smooth. If you have some extra time, you can make your own fresh pumpkin puree with this Pumpkin Puree Recipe.
-
Step 5
For this step you'll need:
- Premixed Dry Ingredients From Step 1
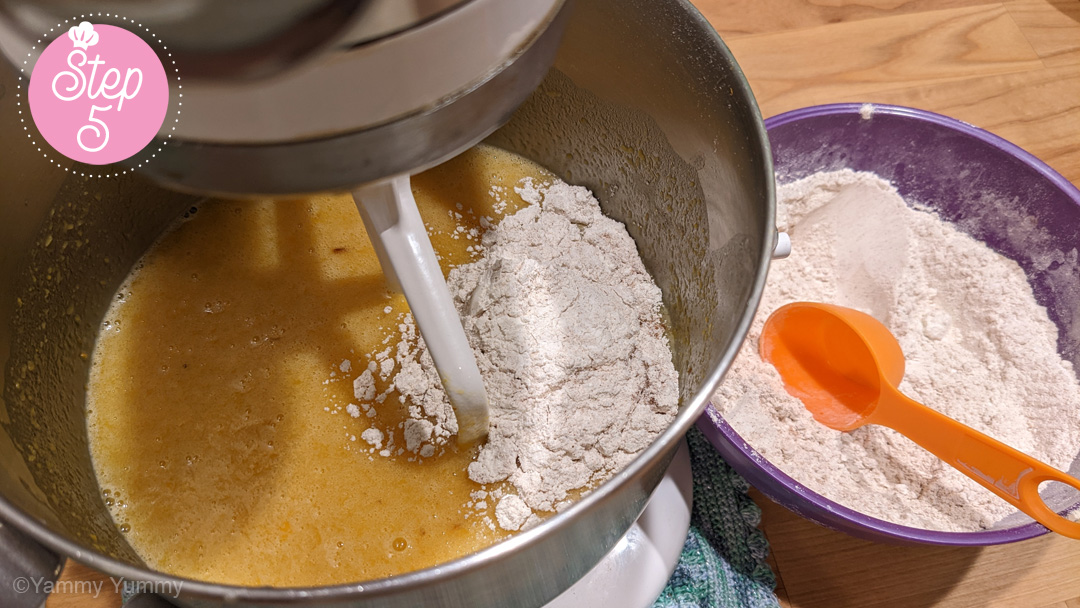
Add your 9 premixed dry ingredients from Step 1 (All Purpose Flour, Baking Soda, Baking Powder, Salt, Ground Cinnamon, Ground Nutmeg, Ground All Spice, Ground Ginger, Ground Cloves) into the your main mixing bowl, 1/2 cup at a time and mix in between. If you add it all at once, you will get blasted with flour to the face! :-)
-
Step 6
For this step you'll need:
- Chopped Nuts From Step 2
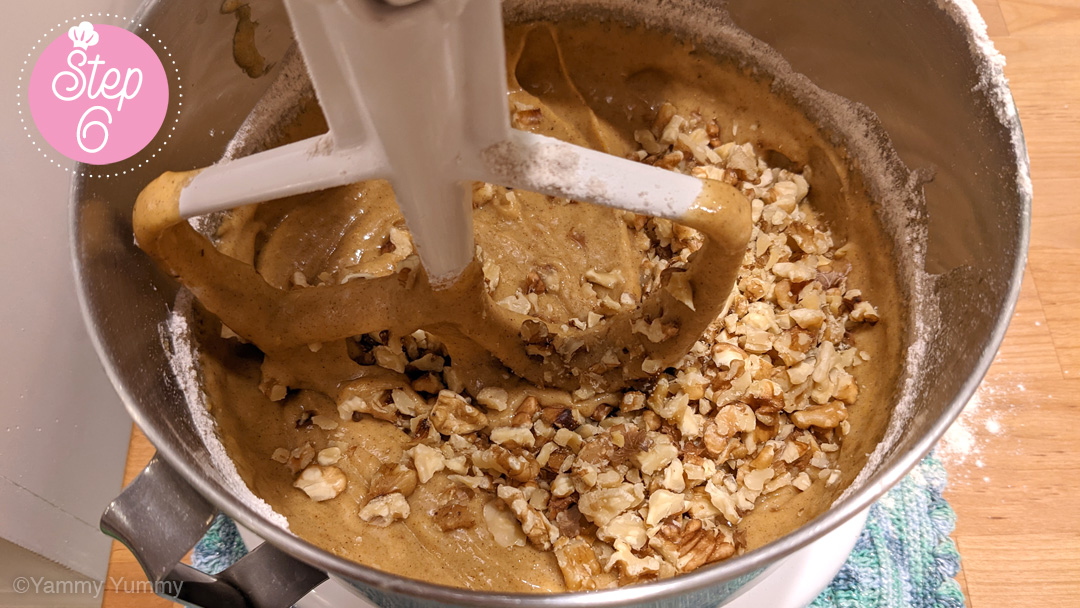
Add in your chopped nuts from Step 2 into your main mixing bowl and mix with a spatula by hand.
-
Step 7
For this step you'll need:
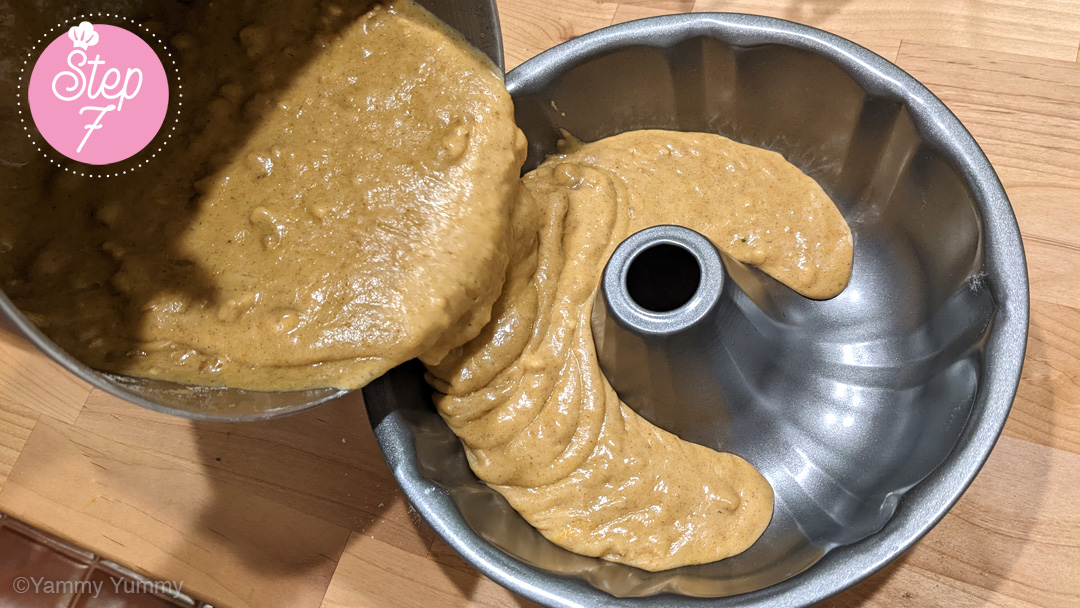
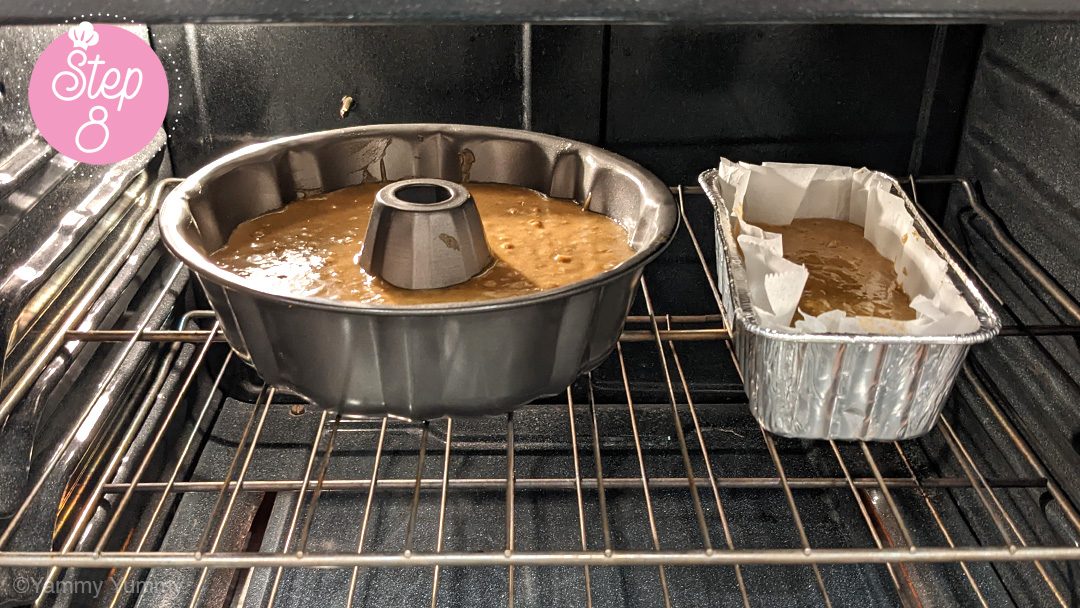
Pour your mix into a non stick 10" wide Bundt Pan. Fill up to only 2/3rds high. You want to leave some room at the top for the bread to rise when baking. If it is filled all the way to the top, the mix will overspill out of the pan making a mess in your poor oven. Yikes! Any remaining mix, pour into a small 8" x 4" bread tin lined with parchment paper.
-
Step 8
For this step you'll need:
- Your Oven :-)
Bake both bread pans for about 1 hour 10 minutes in your preheated oven 350˚F (175˚C).
-
Step 9
For this step you'll need:
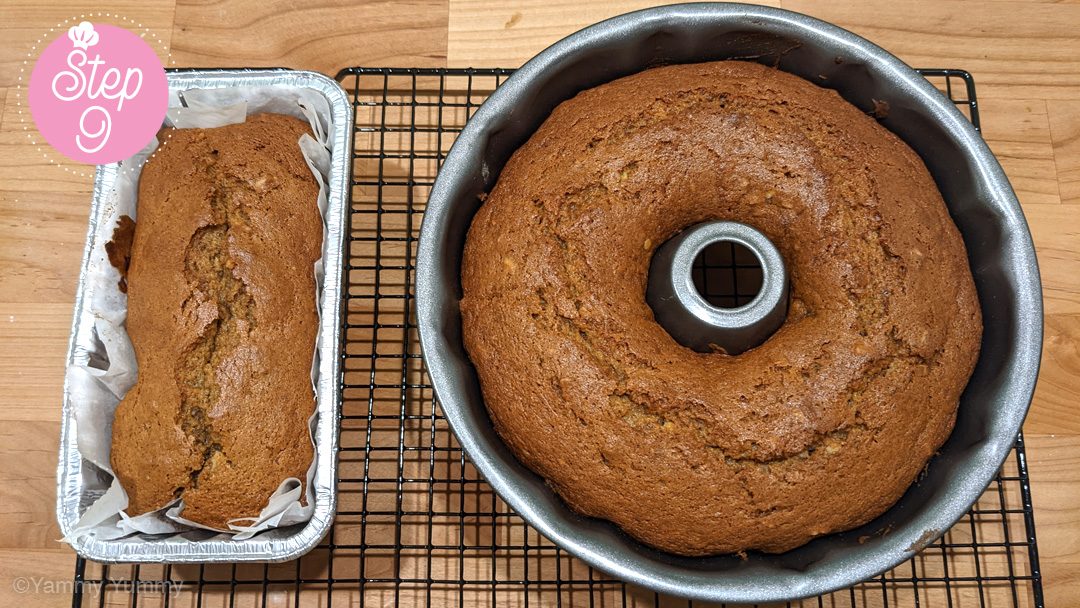
When done baking, if you have a cooling rack, place your 2 bread pans on it for them to cool. A towel on the counter top or a plate will work as well.
-
Step 10
For this step you'll need:
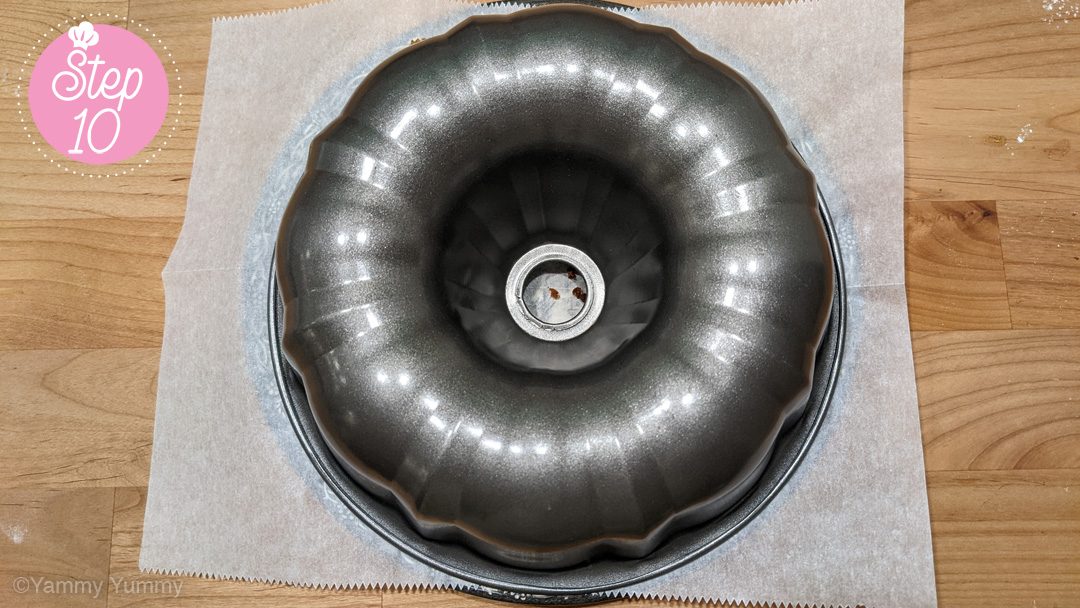
Allow your bread to cool for about 10 minutes. Then, place a sheet of parchment paper under the bundt pan and flip it upside down to release the bread. If it doesn't come out right away, don't fret too much about it. You can tap or bang on the back of the pan a little or just wait another 10 minutes and gravity will do the work for you. If the bread is still being a little stubborn, you can use a knife to gently peel the bread off of the bundt pan until it comes out.
-
Step 11
For this step you'll need:
- Perfectly Or Imperfectly Shaped Pumpkin Bread :-)
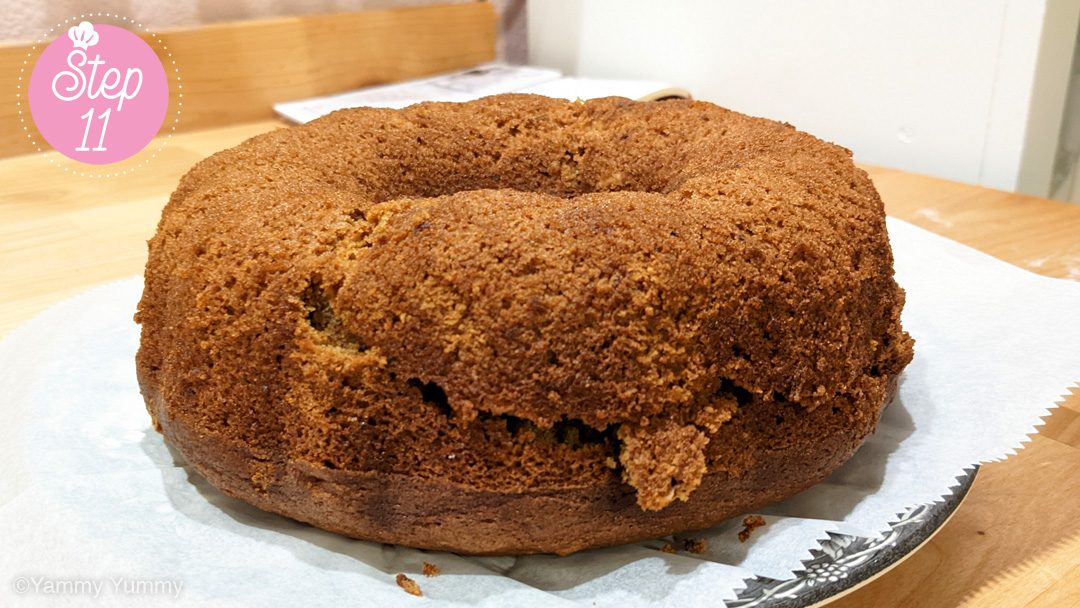
Don't worry if your bundt bread has cracked or crumbled during the removal process. It happens sometimes as it did to me which you can see in my pictures. :-) Remember, homemade baking is not about perfection but about the love of baking something homemade. Allow your bread to fully cool (about 45 mins) before starting on the frosting.
-
Step 12
For this step you'll need:
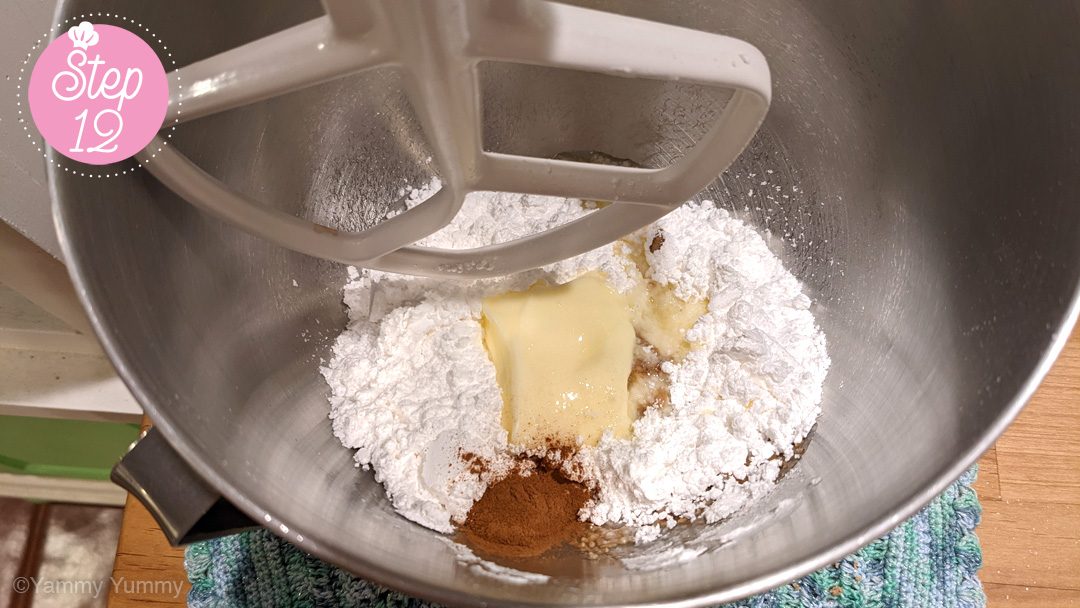
In your main mixing bowl, add your powdered sugar, butter, milk (or your favorite substitute) and ground cinnamon into the bowl and mix everything together. Having a mixer is optional for this recipe as butter cream can be mixed by hand with a whisk.
-
Step 13
For this step you'll need:
- Whipped Delicious Icing :-)
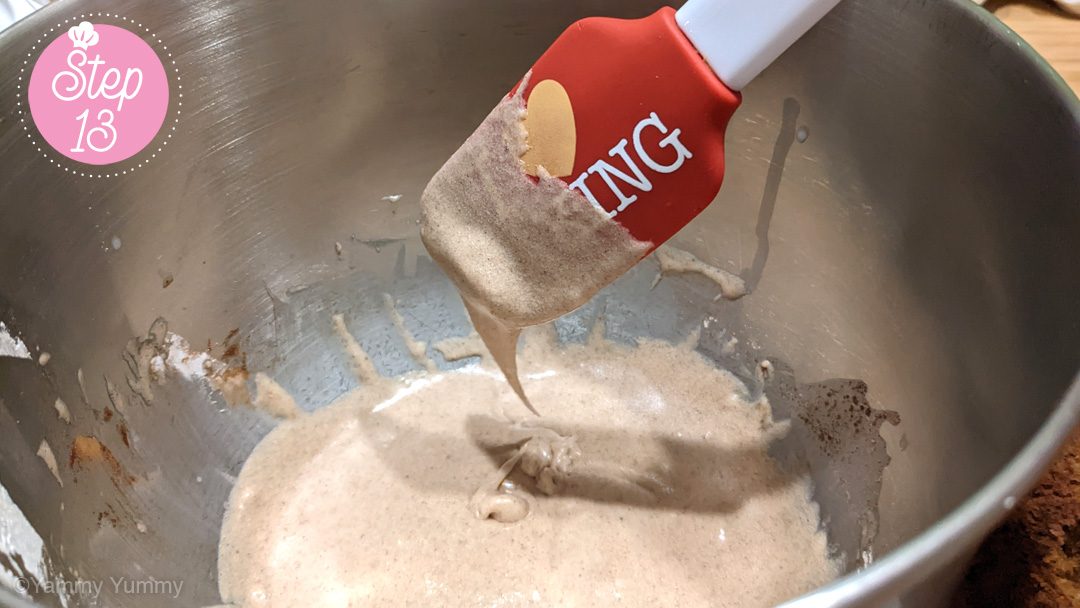
Mix your icing together until it is smooth and creamy.
-
Step 14
For this step you'll need:
- Spoon Or Spatula For Icing
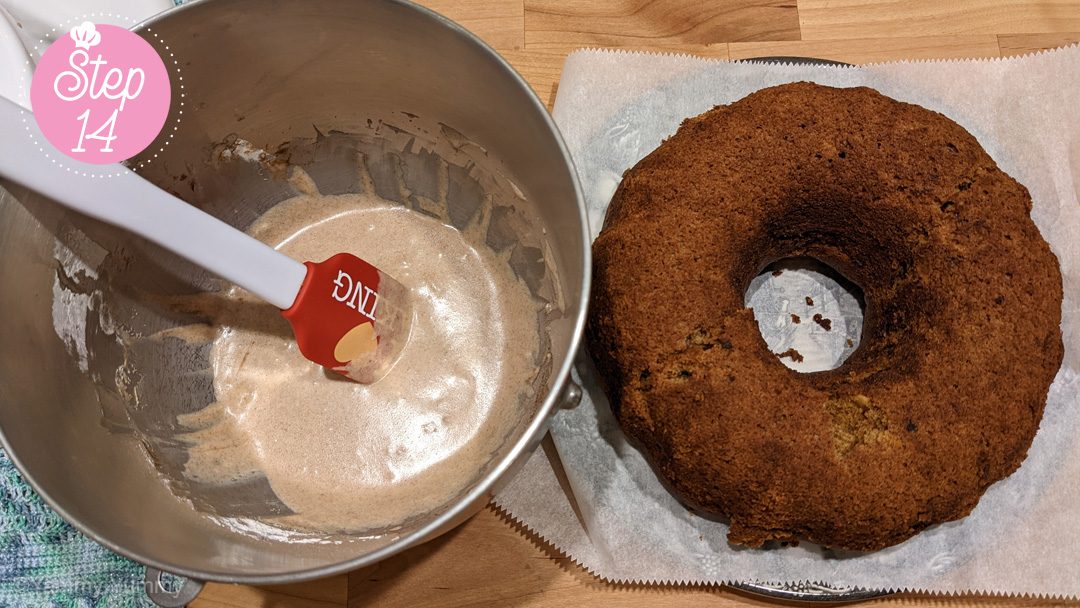
Once your bread has fully cooled, it is time to ice it. The style of icing is completely up to you. You can go crazy and ice the whole outside, or top the top like a cupcake. My favorite style is tiger stripes (or zebra stripes if you're vegan) :-)
-
The Best Part!
For this step you'll need:
- Your Appetite :-)
To make stripes, just dip your spoon or your spatula into your icing until you have a good amount on it and allow the icing to run off on its own onto the bread while making lines back and forth. Don't worry if it looks or gets messy, part of the fun of icing is finding your own style and tastes. I love the stripe effect because it is visually stunning and doesn't add too much sweet to the bread when indulging in it. I hope you like it! :-)