Peanut Butter
Description
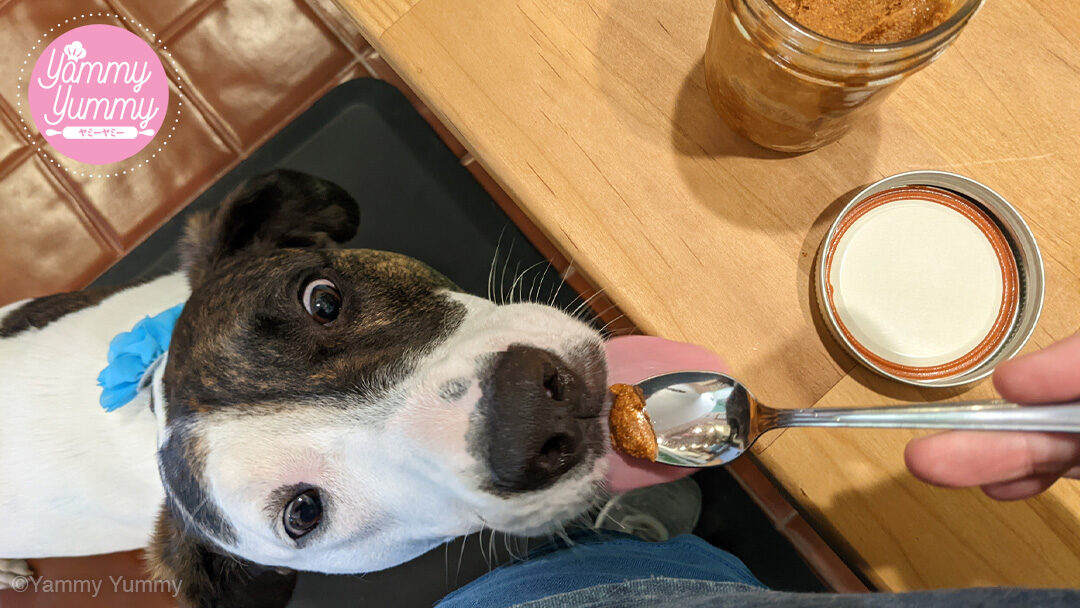
A deliciously thick homemade peanut butter perfect for recipes that call for a peanut butter ingredient. Also great for puppies! :-) Makes enough to fill 6 jars that hold 8 ounces.
This post may contain affiliate links. Please read my disclosure policy.
What We'll Need
Ingredients
Special Baking Equipment Needed
What We'll Do
-
Step 1
For this step you'll need:
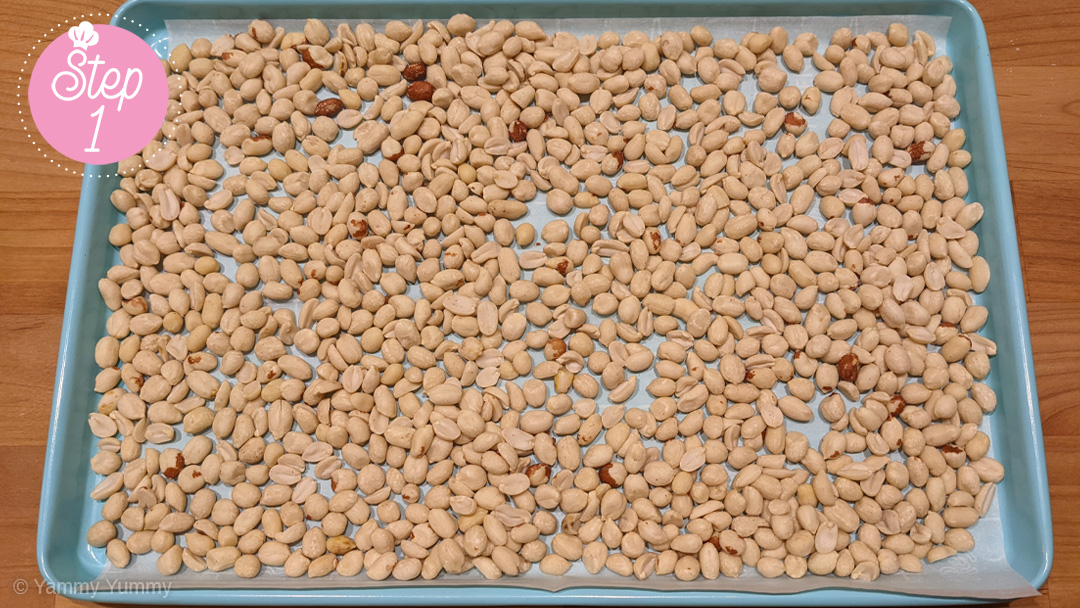
Preheat your oven to 350˚F (175˚C). For 2 lbs. of peanuts, you will need 2 trays. Lay a sheet of parchment on each of your two baking trays (I used 17" baking trays in this recipe) and place your peanuts on top. The peanuts can be crowded and touching each other but don't cover any peanuts up as you want an even bake.
-
Step 2
For this step you'll need:
- Your Oven :-)
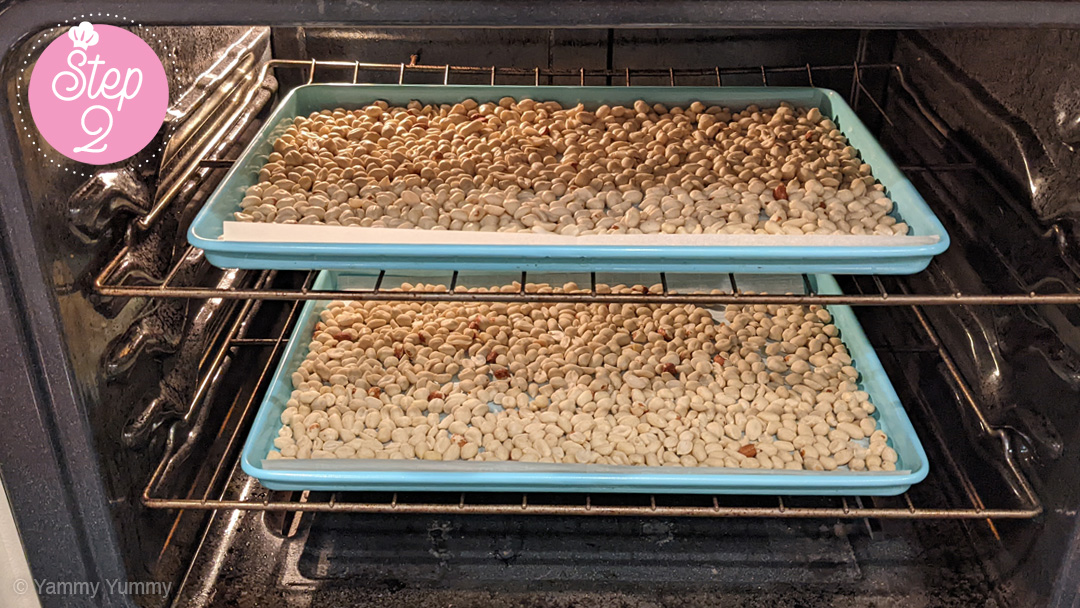
Place your 2 trays in your 350˚F (175˚C) preheated oven. Set the timer for 15 minutes. After 15 minutes, open the oven and rearrange the trays by moving the bottom one to the top and the top to the bottom. That way, all the nuts are evenly roasted.
-
Step 3
For this step you'll need:
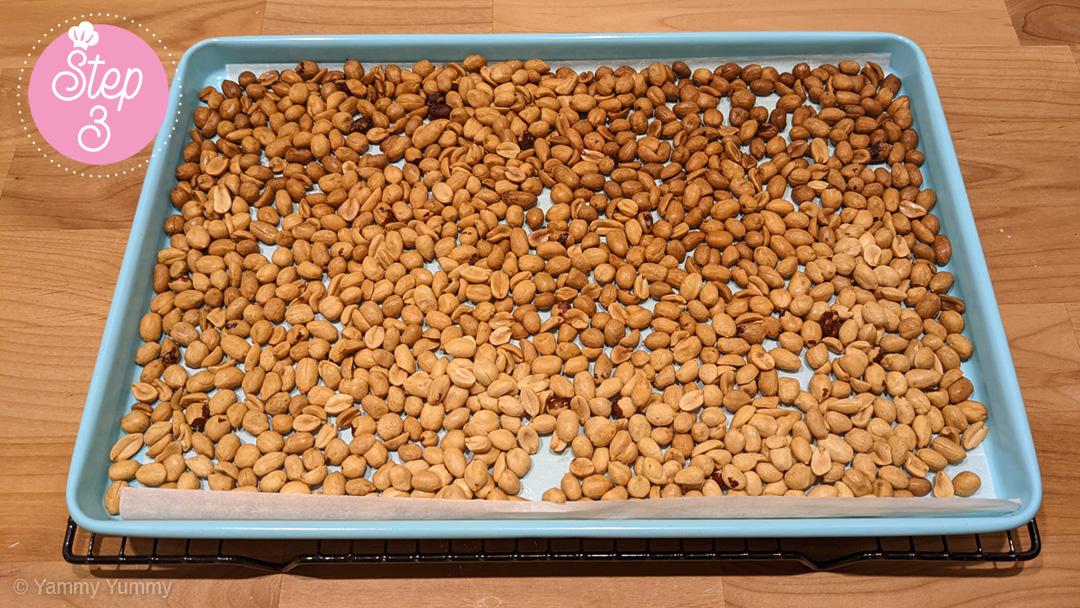
After 30 minutes, remove the peanuts from the oven and place the tray on a cooling rack. If you don't have a cooling rack, a heat safe counter top is fine. Allow the peanuts to cool for about 10-15 minutes. You will hear cracking sounds which indicates the peanuts are still cooking, even though they are out of the oven. Don't worry! This is normal. :-)
-
Step 4
For this step you'll need:
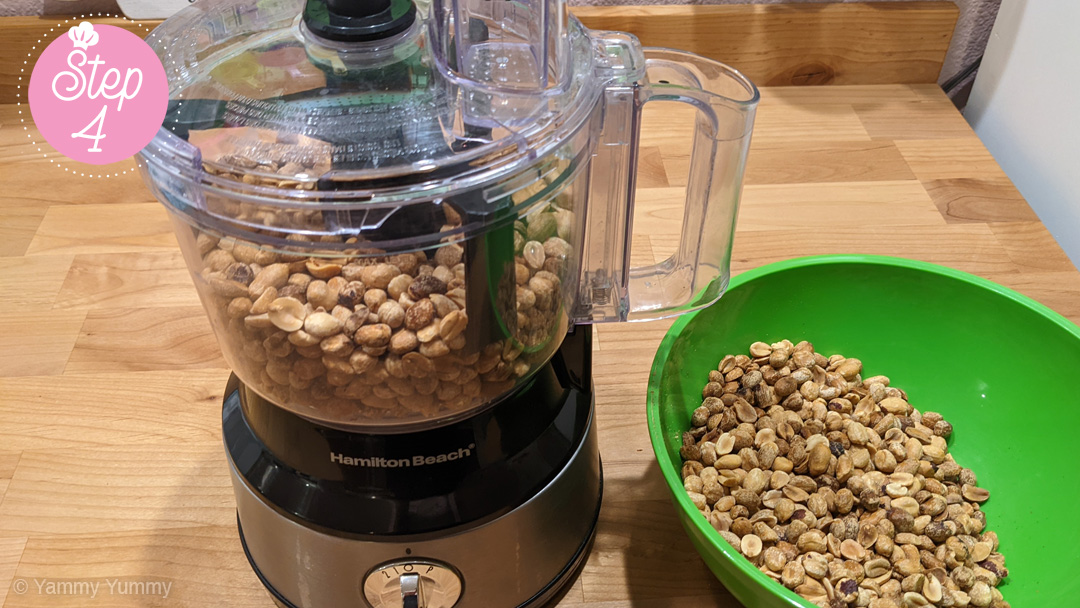
After your peanuts have cooled, place them in a bowl. For this step, you will need a food processor. I use the Hamilton Beach food processor as I think it is the best budget food processor out there. My processor can only do about 1/3 of the peanuts at a time, but fill yours up to whatever is best for your processor.
-
Step 5
For this step you'll need:
- Food Processor
- Spatula
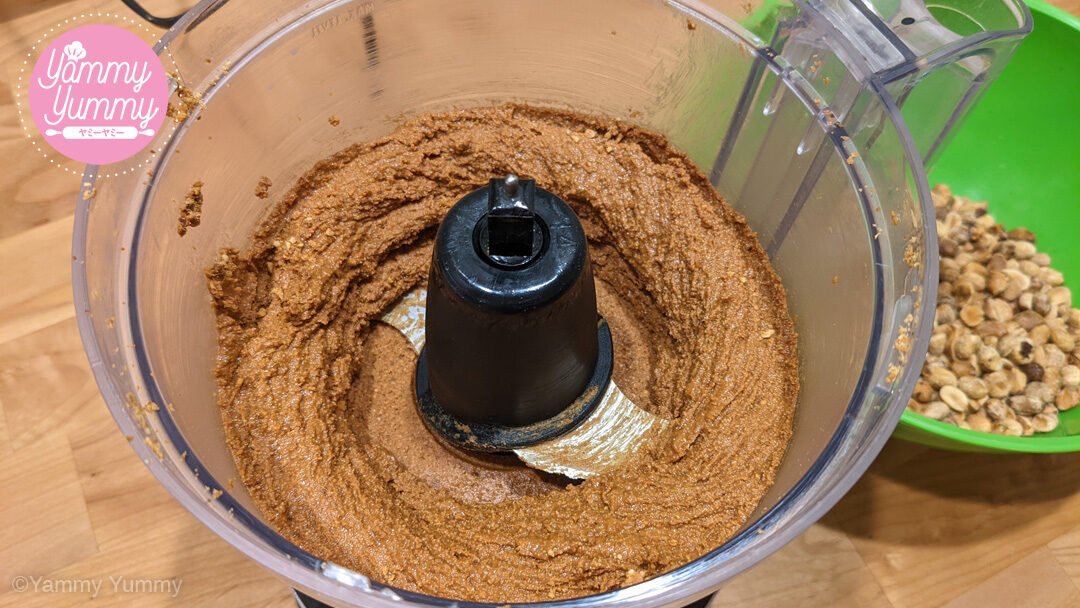
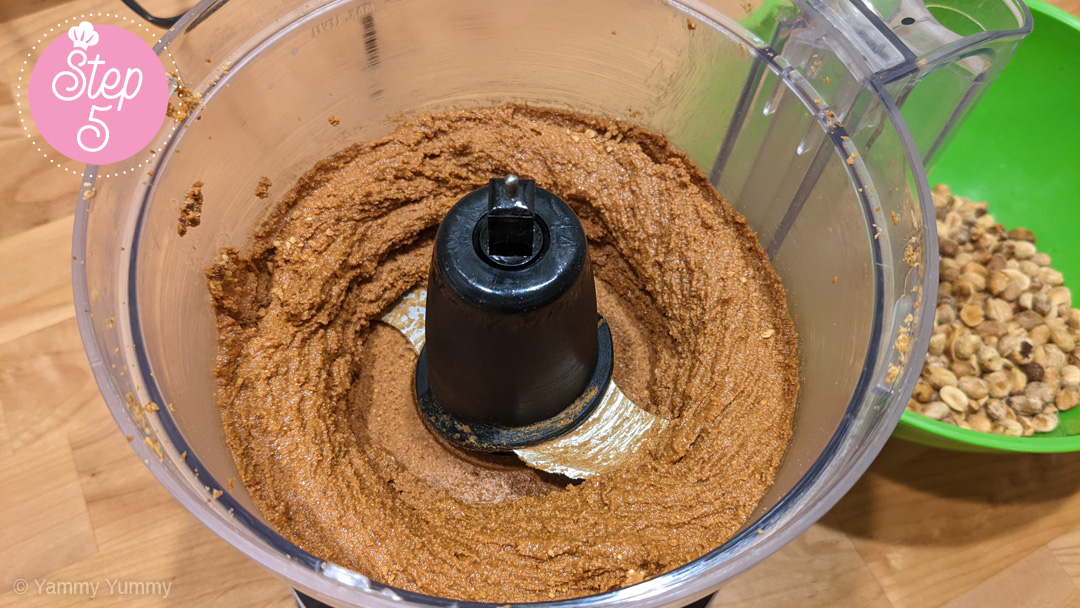
For my processor, I pulse the peanuts a couple of times and then turn it to level 2 for about 3-5 minutes. If you are using the Hamilton Beach Series, make sure to use the inside bowl scraper when the food processor is running. This will make sure the peanuts stay off the side and mix more evenly. For other food processors, you will have to stop the mix every so often to wipe the sides off with a spatula so everything mixes evenly.
-
Step 6
For this step you'll need:
- Spatula
- Large Bowl
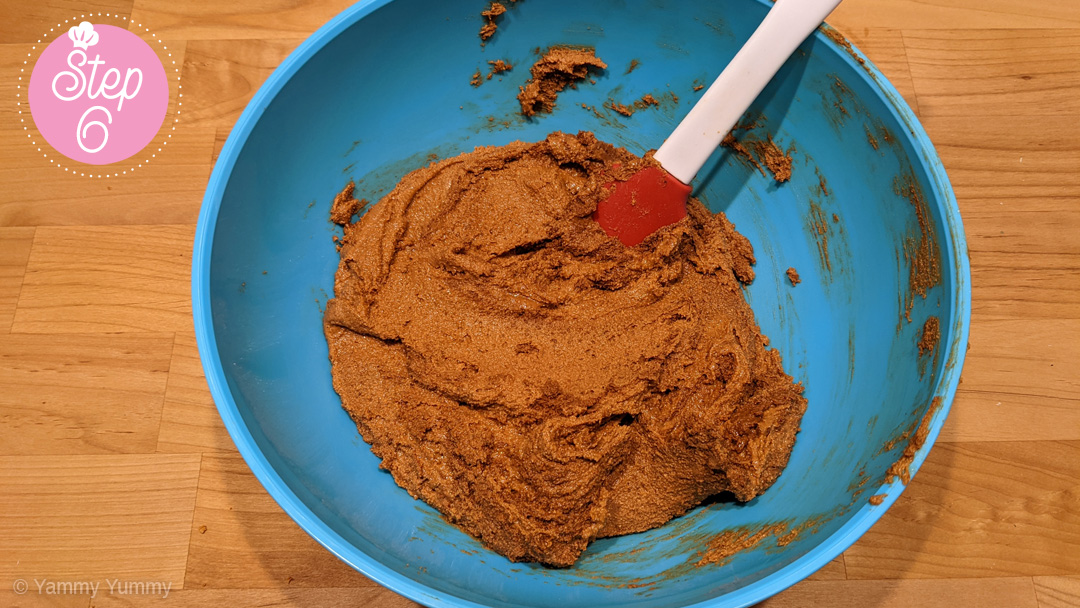
Scoop out your peanut butter into a large bowl. This peanut butter is super thick!
-
Step 7
For this step you'll need:
- Spatula
- Canning Jars
- Canning Equipment
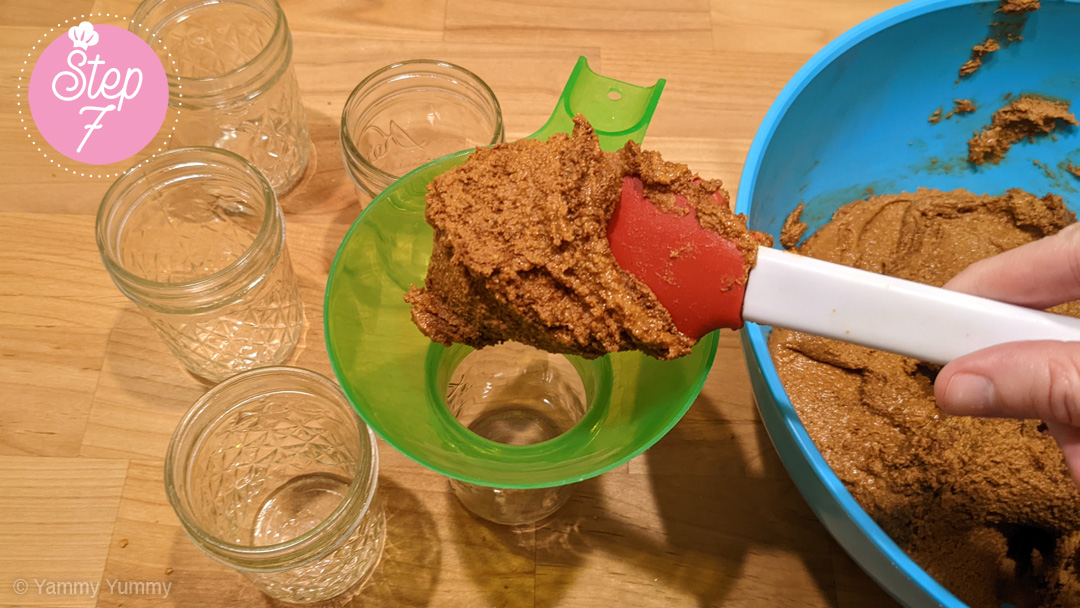
Place your jar funnel into the top of each sterilized jar and scoop your peanut butter into them. Fill up your glass jar to the bottom of the neck. You want to leave a little bit of space at the top. After the jars are cleaned, place the lids on them and screw the rings onto the jars.
-
Step 8
For this step you'll need:
- Canning Rings And Lids
- Clean Towel
- Your Fridge :-)
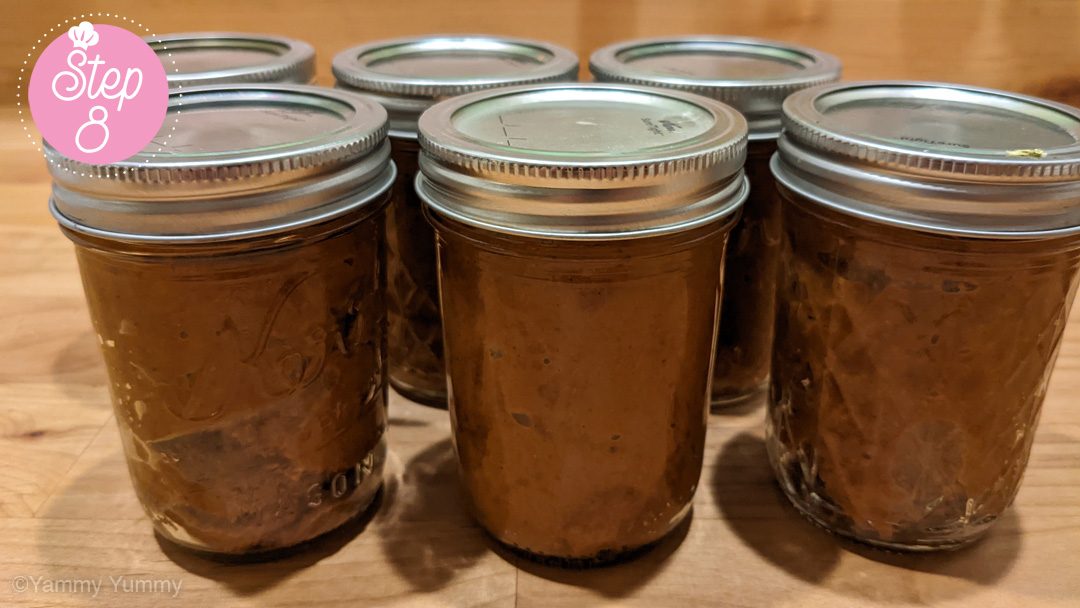
Before sealing your jars, make sure to wipe off the top of the jars with a clean towel so a proper seal can be formed. Then, place the lids on them and screw the rings onto the jars and store your peanut butter in your fridge. It should last about 1 month but I find I go through it a lot faster than that. :-)
-
The Best Part!
For this step you'll need:
- Your Cute Pup! :-)
This new skill you learned will most definitely impress your best friend! And the great thing about your homemade peanut butter is that it is free of Xylitol. This is toxic for dogs and is found in a lot of store bought peanut butter. But with homemade peanut butter, you've just created a new baking ingredient and a delicious snack for your best friend! :-) I hope you AND your pup like it!