

Apple Butter
Description
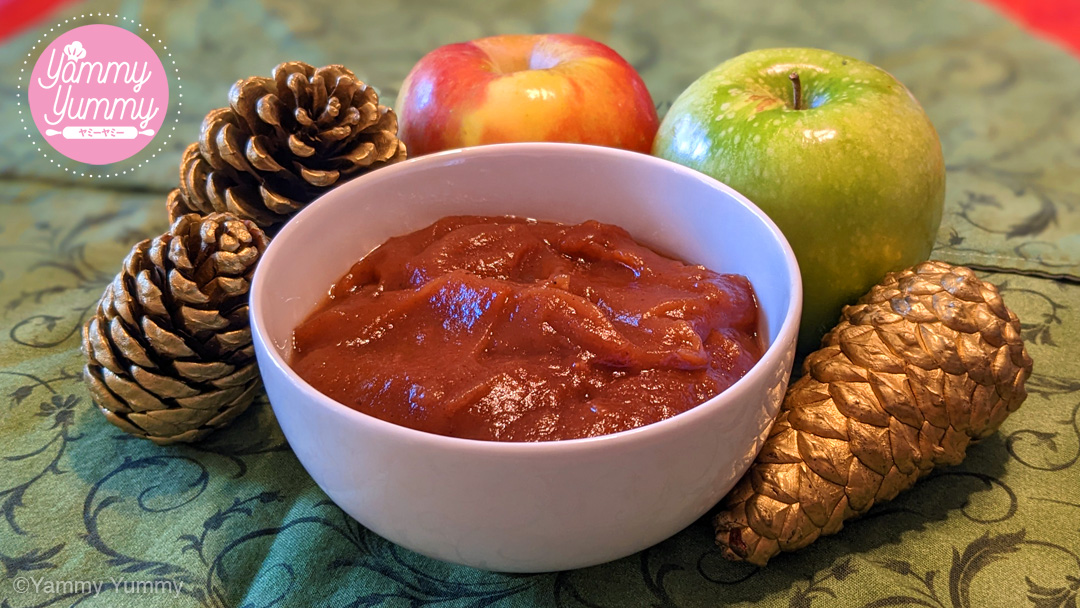
This apple butter recipe takes about 10 hours to cook but is so worth the wait. It makes enough to fill about 10 jars that hold 8 ounces each! We will be using the hot water bath canning method for our apple butter. So please review this method before starting your apple butter.
This post may contain affiliate links. Please read my disclosure policy.
What We'll Need
Special Baking Equipment Needed
What We'll Do
-
Step 1
For this step you'll need:
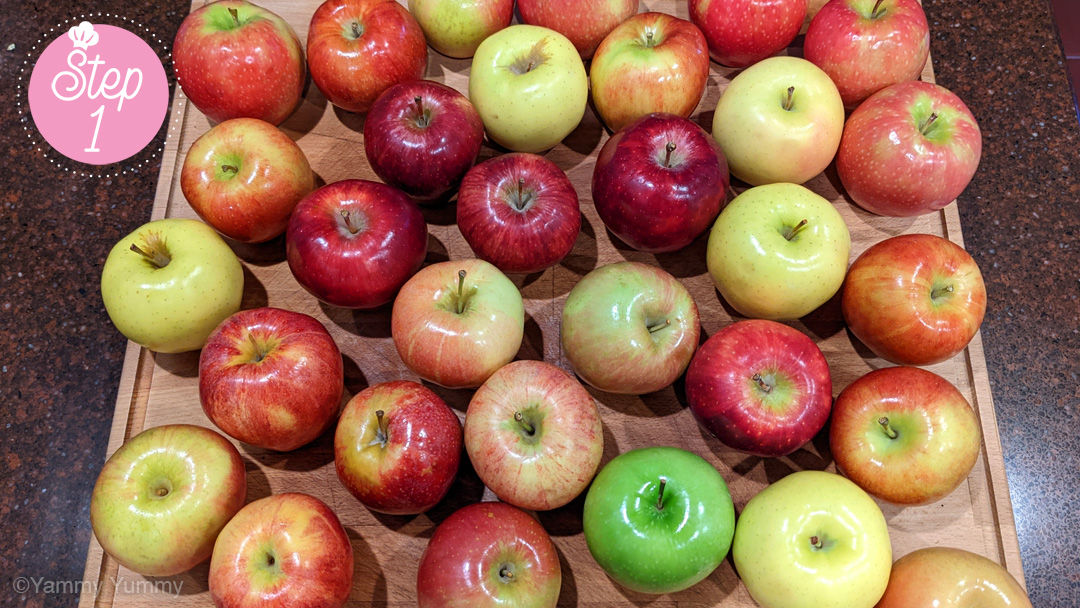
For this recipe, you will need about 9 lbs of apples in order to get the 6 lbs we will be cooking. You can either use one variety of apples or use a mixed bunch. For this recipe, I used a hodge podge of apples.
-
Step 2
For this step you'll need:
- 9 lbs (4 kg) Apples
- Water
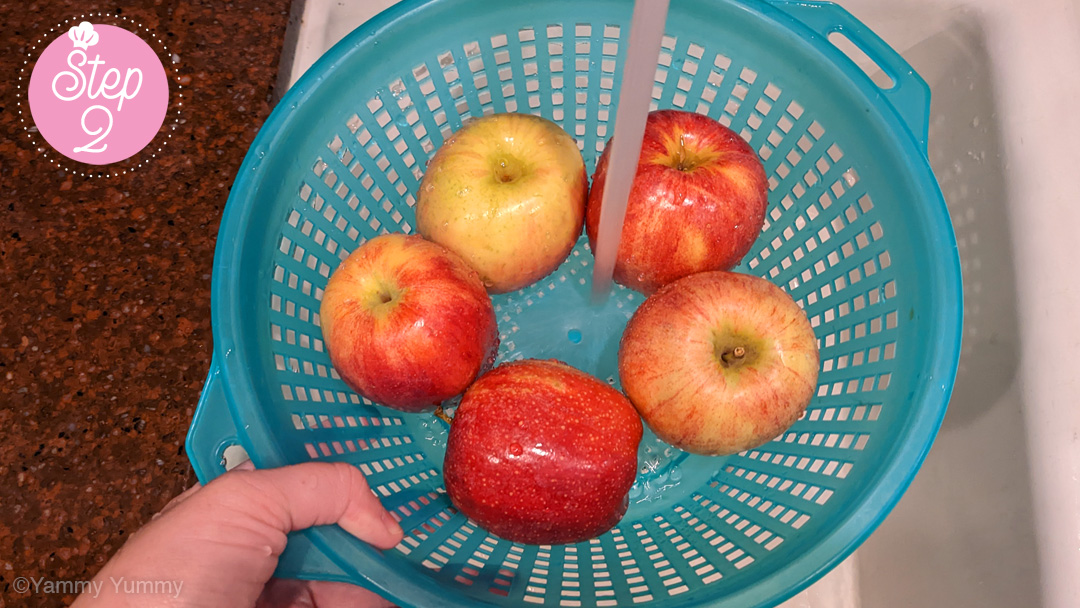
Always wash your fruit before you start cooking.
-
Step 3
For this step you'll need:
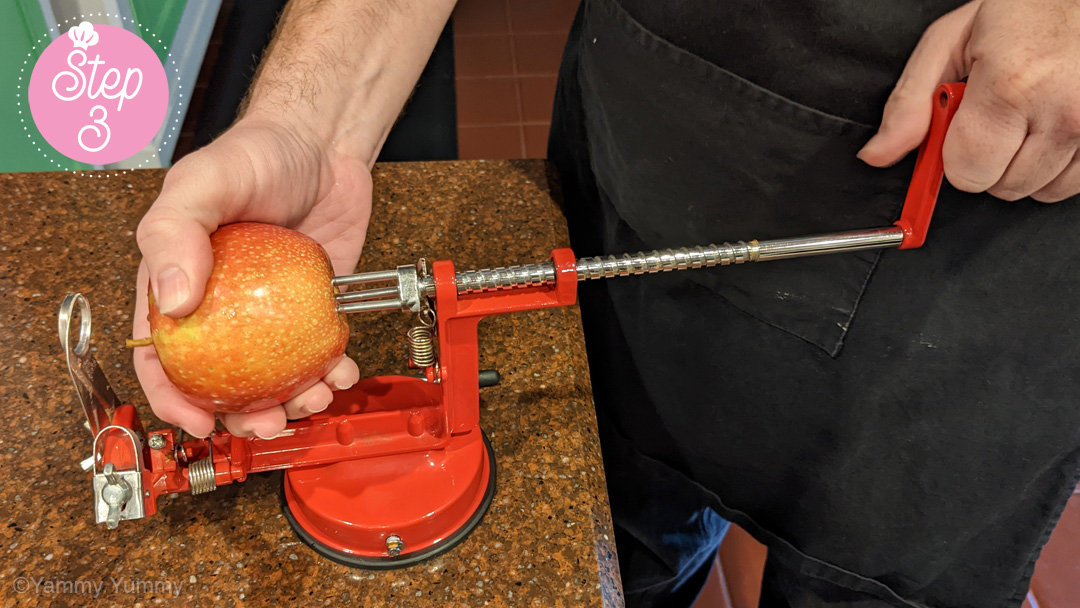
To save your hands, I highly recommend getting an Apple Peeler Corer for this recipe. It'll make the prep work go by so much faster and a hand cranked version is very inexpensive! To start, place your peeler on a clean surface. Then, flip the handle that's on the base in order for suction to occur, securing your Apple Peeler Corer to the surface. Pull the thumb level that is right by the main handle off the shaft in order to pull back the fork. Attach an apple to the fork. Be careful! Those fork prongs are sharp!
-
Step 4
For this step you'll need:
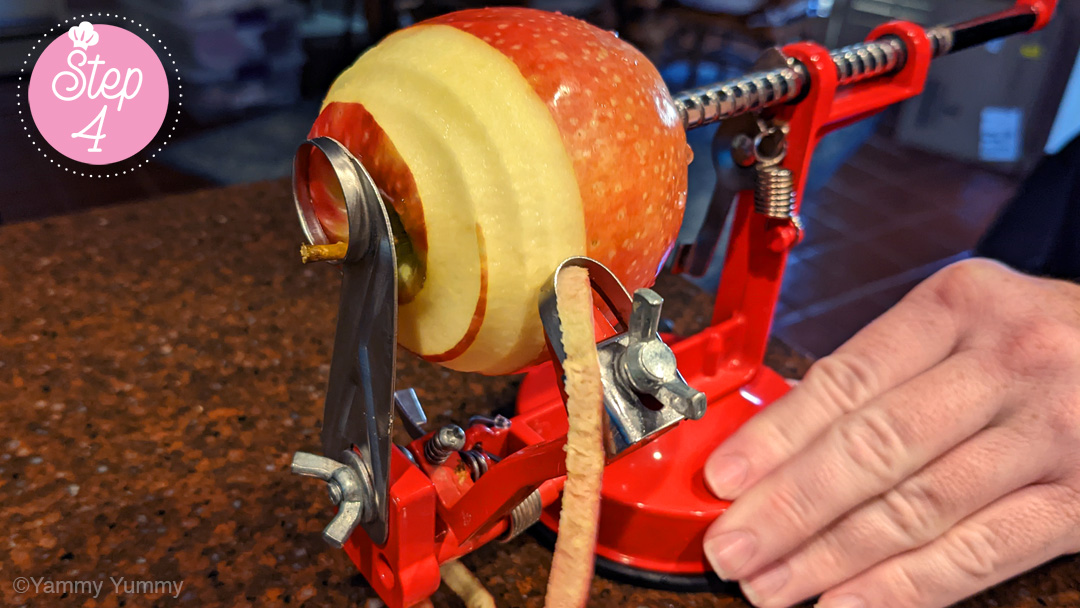
Start turning the handle clockwise. It'll start moving the apple towards the peeler and corer device. The skin will start to peel and the core will be removed as you spin the apple through the two.
-
Step 5
For this step you'll need:
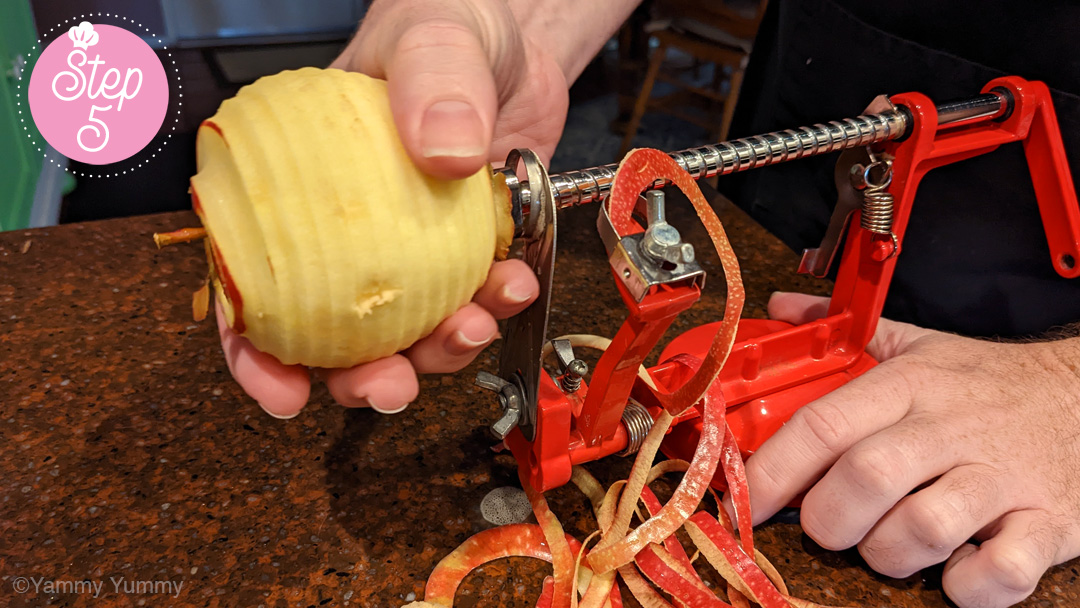
Once the entire apple is peeled and cored, remove the outer part and set aside. Then, release the thumb lever and pull the shaft back to pop off the apple core. Clean up the apple peels by either setting aside in a large bowl to make apple peel chips later or throw them into your composter.
-
Step 6
For this step you'll need:
- Knife & Cutting Matt
- Delicious Apple Slices
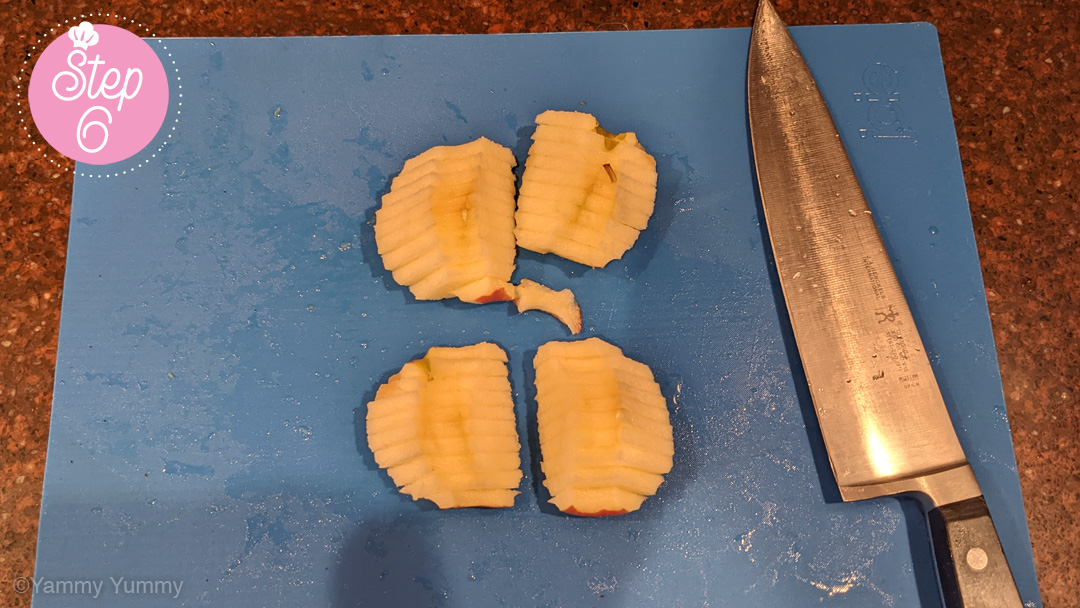
After the apple has been peeled and cored, take a knife and slice the apple into quarters for faster cooking.
-
Step 7
For this step you'll need:
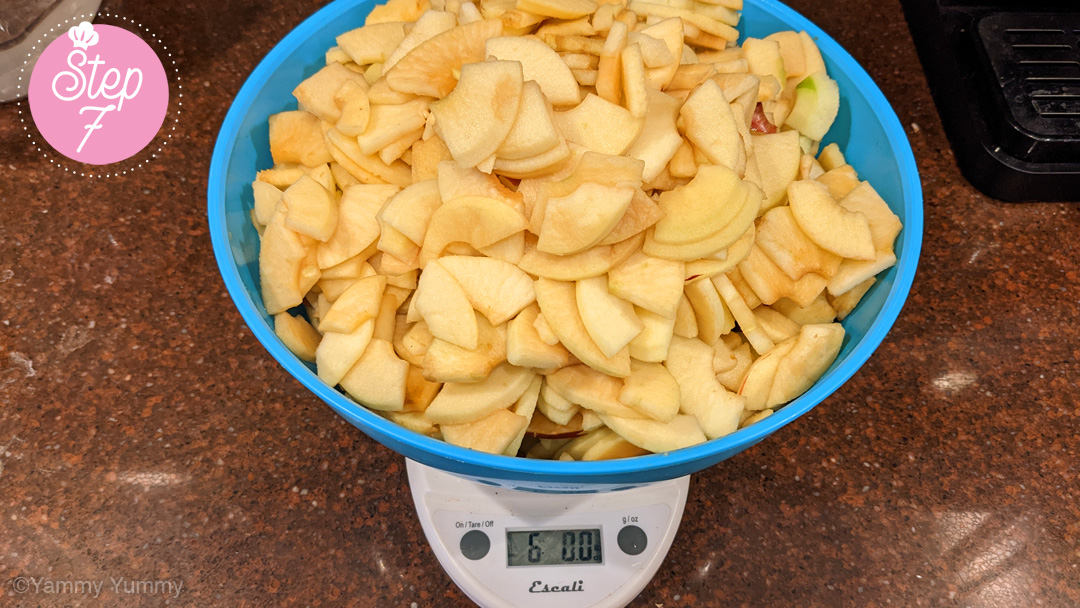
After the peeling and coring, you will have lost about 3 lbs (1.36 kg) of apples which will leave you with 6 lbs (2.72 kg) of apple slices.
-
Step 8
For this step you'll need:
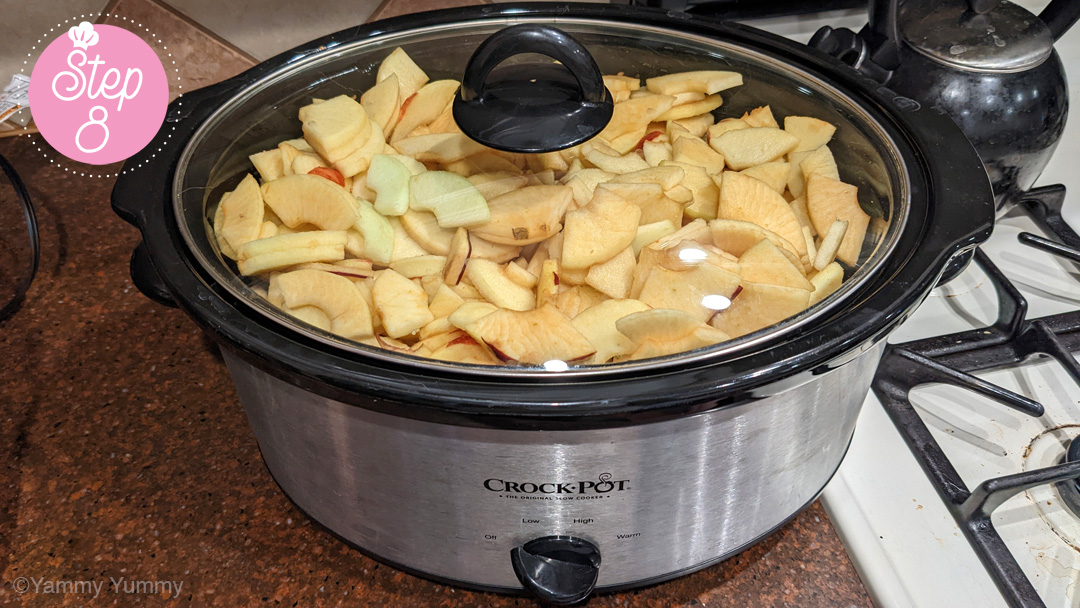
Add your 6 lbs (1.36 kg) of apples into your slow cooker and place the lid on. Turn the heat onto low and it'll take about 10 hours to fully cook. Please remember, every slow cooker will cook at different speeds. I have two slow cookers and one cooks apple butter about 3 hours quicker than the other one. But in any case, this is an all day project, so start early and enjoy how good your house is going to smell! :-)
-
Step 9
For this step you'll need:
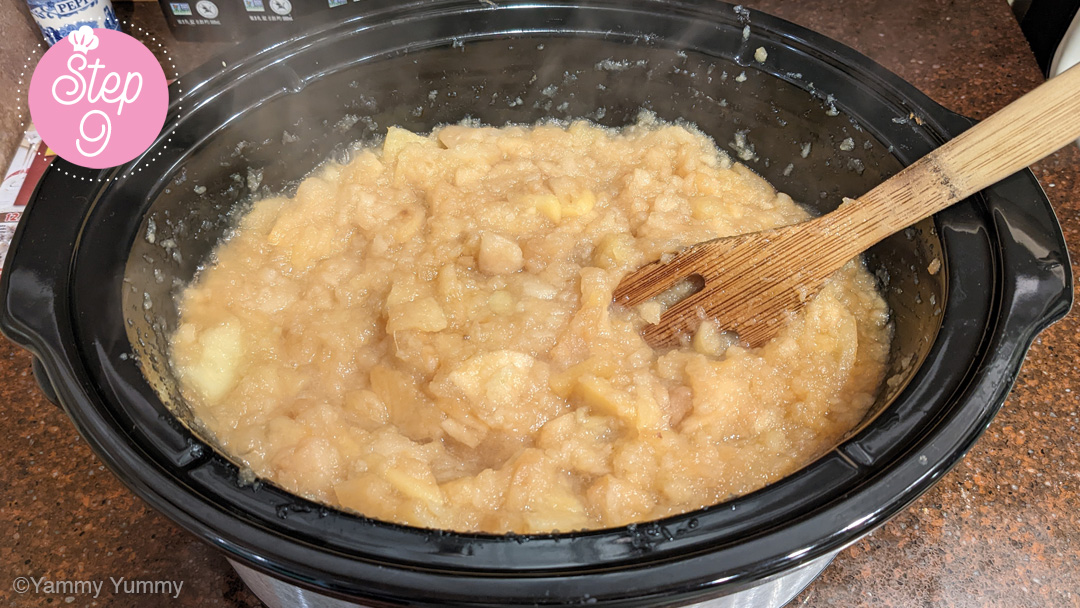
Every hour, put on an oven mitt and lift the top off of the slow cooker. Then, gently mix the apples around so everything is cooked nice and evenly.
-
Step 10
For this step you'll need:
Put a small clean small plate into your freezer. We'll get to that in a bit.
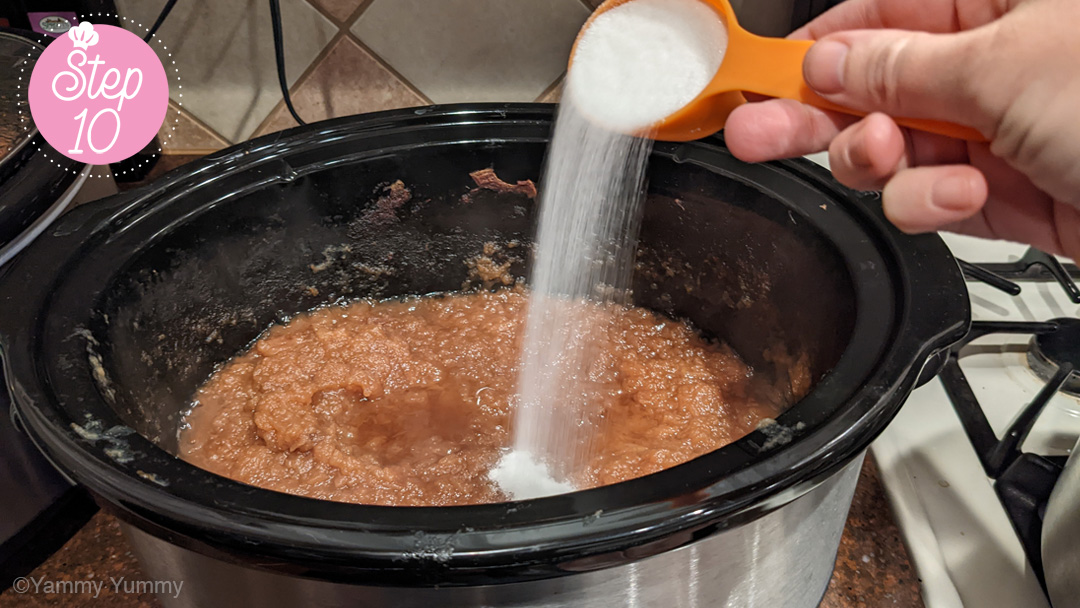
After about 10 hours of cooking, your apple butter will be much darker, thicker and close to being done. This is where you add your sugar and spices. Adding the right amount of sugar is up to your individual taste preferences. I personally love the taste of apples so I tend to use less sugar than most bakers. Also, if you used sweet apples for this apple butter, you will not need as much sugar.
For this recipe, I used 2 cups of sugar. I added in the sugar in 1/2 cup increments in between adding the spices in Step 11.
-
Step 11
For this step you'll need:
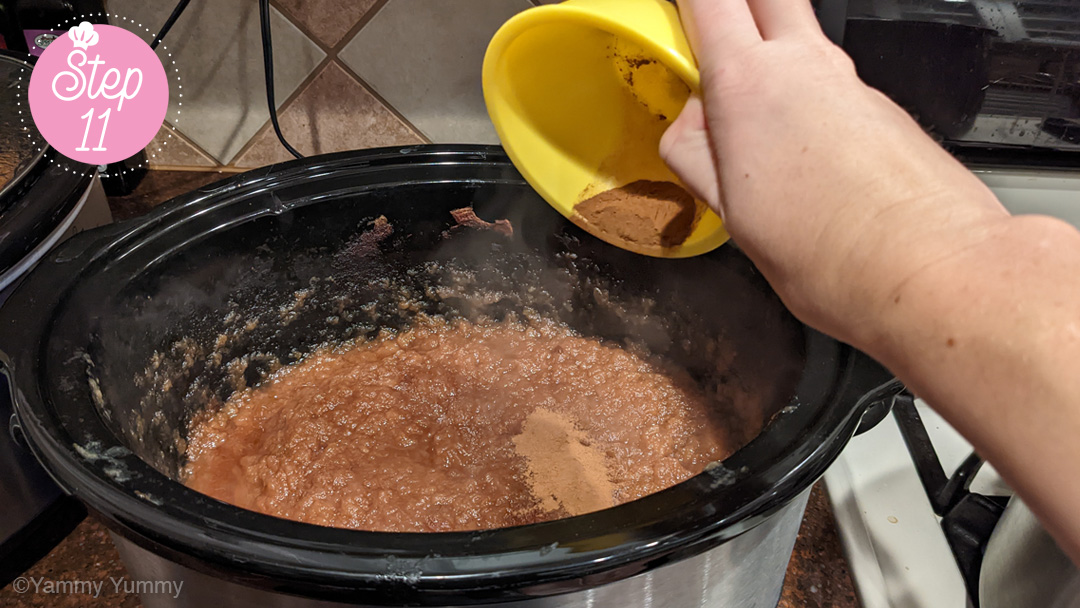
Add your Cinnamon and Nutmeg in between adding your sugar. I love Cinnamon, so I always add a lot but finding the perfect amount of spice is up to your individual taste preferences.
-
Step 12
For this step you'll need:
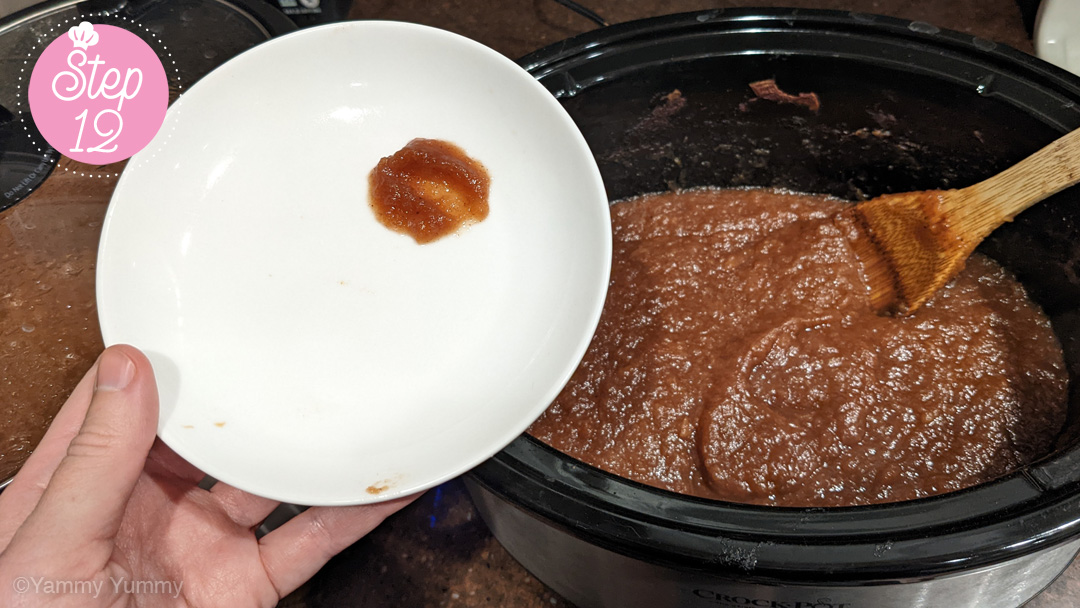
Grab your small clean plate that was placed in your freezer in Step 10. After adding your sugar and spices and mixing it all together, place a little bit of apple butter on your cold plate, taste it and either add more sugar and spices or stop. When you're happy with the taste of your apple butter, let's move on to blending!
-
Step 13
For this step you'll need:
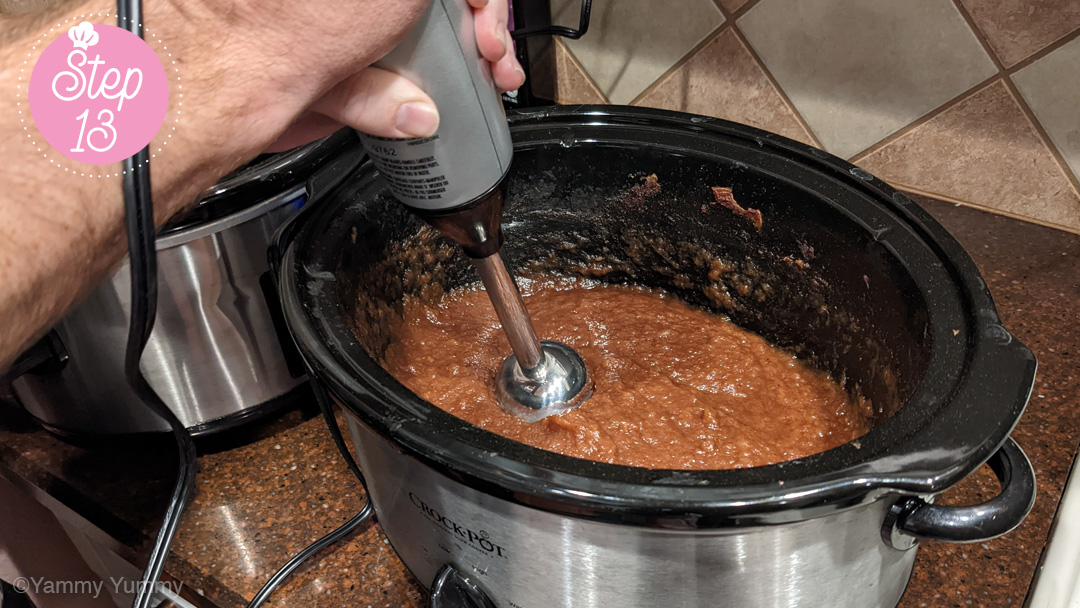
Turn your slow cooker off and we'll use the Handheld Immersion Mixer to puree the apple butter smoother. Plug in your Handheld Immersion Mixer to finely mix your apple butter while it is still in the Slow Cooker. Be sure to wear long sleeves or oven mitts when doing this just in case the hot apple butter splashes up onto your arms while being pureed by the mixer.
-
Step 14
For this step you'll need:
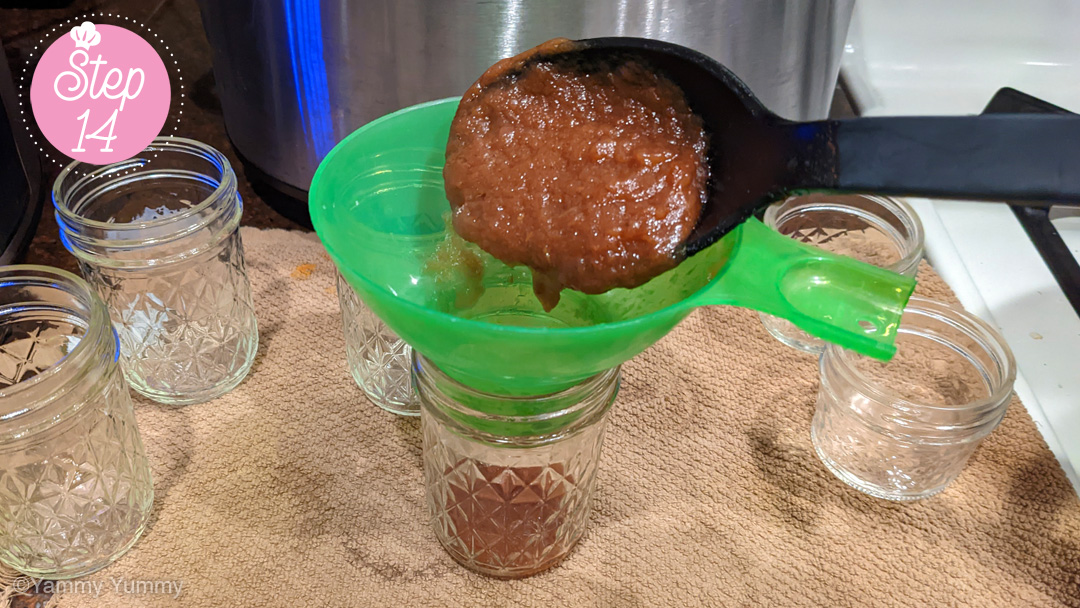
Using the hot water bath method, we will can your apple butter. After you have sterilized your jars, place your jar funnel into the top of each jar and scoop your jam into them. Fill up your glass jar to the bottom of the neck. You want to leave a little bit of space at the top.
-
Step 15
For this step you'll need:
- Oven Mitts
- Clean Towel
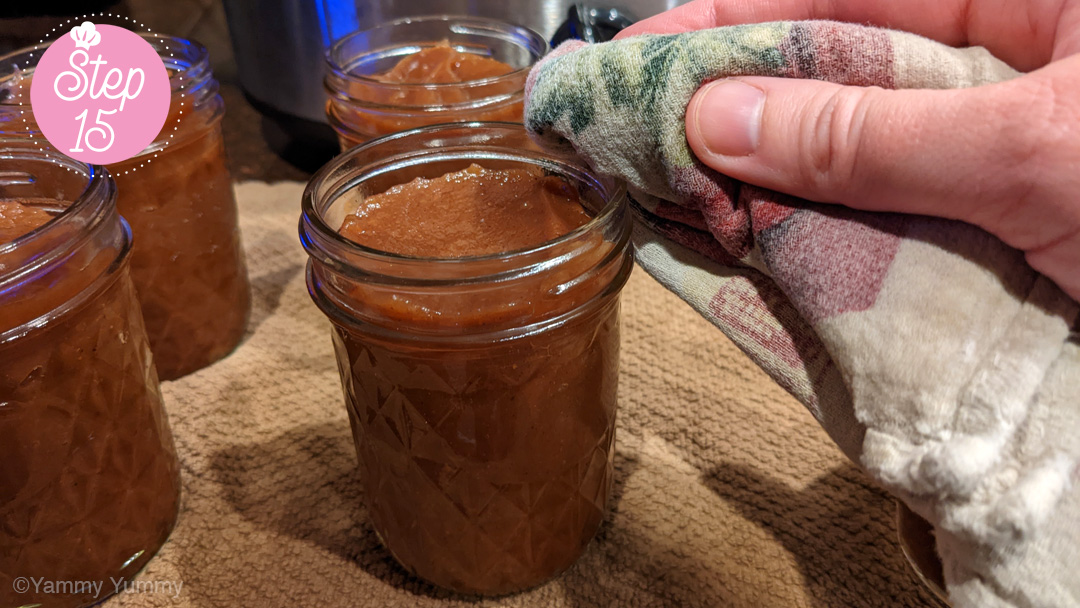
Making apple butter is very messy and it gets everywhere. Before sealing your jars, make sure to wipe off the top of the jars with a clean towel so a proper seal can be formed. The apple butter is still hot so be careful as to not just grab the jars with your hands. An oven mitt or towel is your best friend. (apple butter burns though delicious, are no fun)
-
Step 16
For this step you'll need:
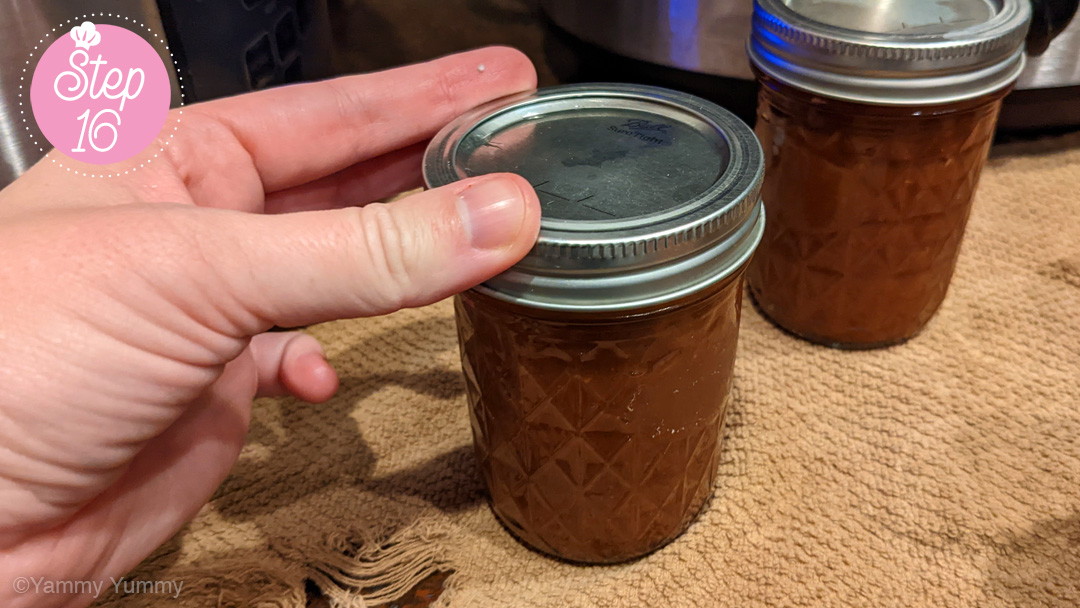
After the jars are cleaned, place the lids on them and screw the rings onto the jars tightly. I wear an oven mitt to hold the jars while securing the rings.
-
Step 17
For this step you'll need:
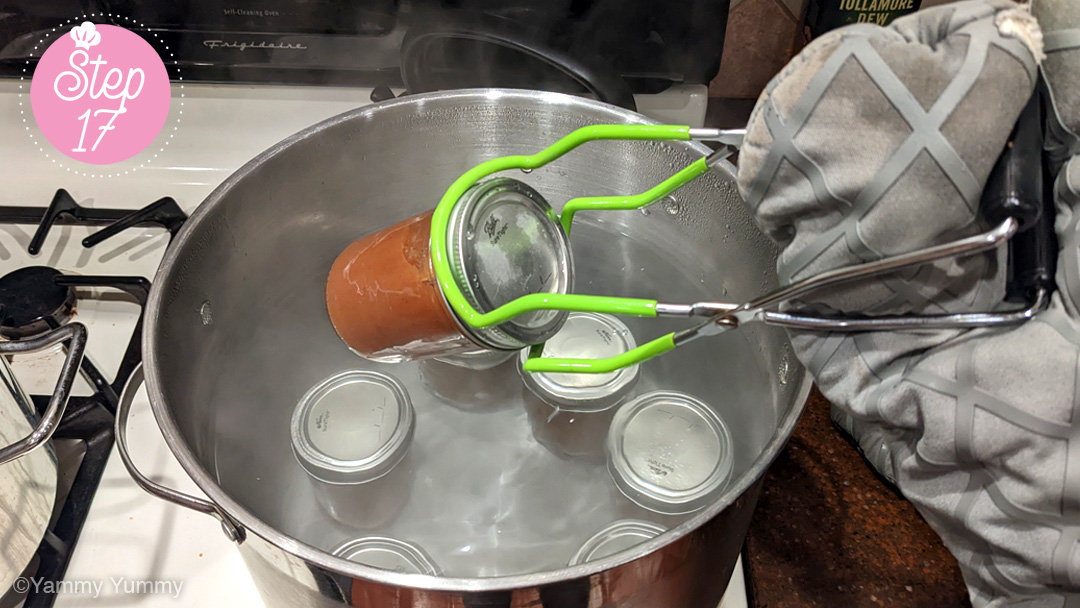
After your jars have been sealed, we will perform steps 9 and 10 of the hot water bath method. Grab your oven mitt and tongs and place your jars back into the hot water. Remember to place your jars side by side in the pot and DO NOT stack them. AND, all jars need to be completely covered by water because if your jars are exposed to the air while the water is boiling, they could explode. So be sure that your cans are completely covered by the water. A good couple inches (5 cm+) is enough.
Cover your pot, turn the heat on high and let your jars sit in the boiling water for another 15 mins.
-
The Best Part!
For this step you'll need:
- Clicking Cans
- Your Appetite :-)
After 15 mins, turn off the heat to your stove and let the cans sit in the hot water for 5 more mins. Then, grab your oven mitt and canning tongs to remove your jars from the hot water and place them on a towel or heat resistant counter top to cool.
As they cool, you will start to hear these clicks in your kitchen over the next hour or so. That sound is the top of the can lids being sucked down from the hot jar cooling. After they've cooled completely, you can double check that the lids have sealed by pressing the middle of the lid down. If it doesn't pop up, it is sealed. If it does pop up, don't worry, just eat that one first. :-) It will last about 2-3 weeks in the fridge. The others should last 2-3 months in the fridge. I hope you enjoy it! :-)